A broken database can cause your website to crash or display errors, leaving you in a tough spot. Thankfully, cPanel provides tools to repair your database quickly without needing advanced technical skills. Follow these simple steps to restore your site.
How to Repair a Broken Database Using cPanel
Table of Contents
Step 1: Log In to cPanel
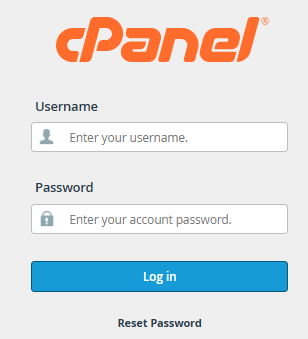
- Access your hosting account and log in to cPanel.
- Look for the Databases section on the cPanel dashboard.
Step 2: Open the MySQL Databases Tool
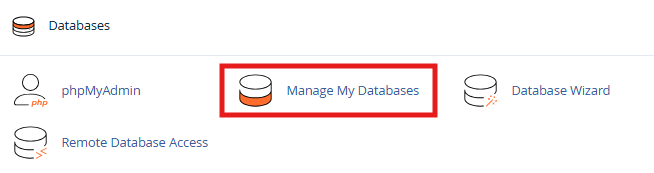
- Click on MySQL Databases under the Databases section.
- This tool allows you to manage and repair databases easily.
Step 3: Select the Database to Repair
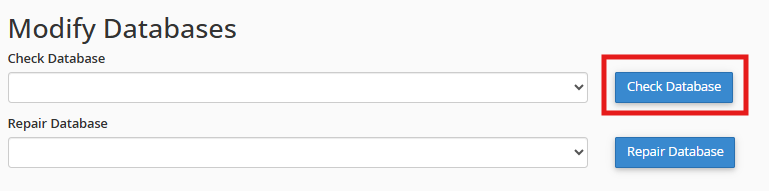
- Scroll down to the Modify Databases section.
- Find the drop-down menu labeled “Check Database”.
- Select the broken database and click Check Database to identify any issues.
Step 4: Repair the Database

- If errors are detected, go to the “Repair Database” option.
- Select the problematic database from the drop-down menu.
- Click the Repair Database button. cPanel will run automated scripts to fix common issues.
Step 5: Verify the Repair
- After the process completes, you’ll see a success message or details about unresolved issues.
- Revisit the Check Database tool to ensure everything is working properly.
Step 6: Test Your Website
- Refresh your website to check if the problem is resolved.
- If the issue persists, there might be deeper problems requiring professional assistance or backup restoration.
Tips to Avoid Future Database Issues
- Regular Backups: Always keep a recent backup of your database.
- Optimize Tables: Use the Optimize Database feature to maintain performance.
- Monitor Plugins: If you’re using CMS platforms, ensure plugins/themes don’t cause conflicts