What is Plesk Control Panel
Plesk is a web hosting control panel that simplifies the management of web servers and hosting accounts. It provides a user-friendly interface for managing websites, domains, email accounts, databases, and other server-related tasks. Plesk supports various operating systems like Linux and Windows, making it versatile for different hosting environments. It offers features such as one-click installations of popular web applications, security tools, website analytics, and automation options, making it a preferred choice for web hosting providers and website owners alike.
Table of Contents
What is Backup and Restoring

Backup involves creating copies of data to protect against data loss, corruption, or system failures. It’s like making a duplicate of important files or databases. Restoring, on the other hand, is the process of recovering data from these backup copies when needed. It’s akin to using those duplicates to replace lost or damaged data, ensuring continuity and data integrity. Together, backup and restoring are essential practices for data protection and disaster recovery in IT systems.
How to Back Up & Restore a MySQL Database in Plesk Control Panel
Backing up and restoring a MySQL database in Plesk Control Panel is a straightforward process. Here’s a step-by-step guide to help you through both tasks:
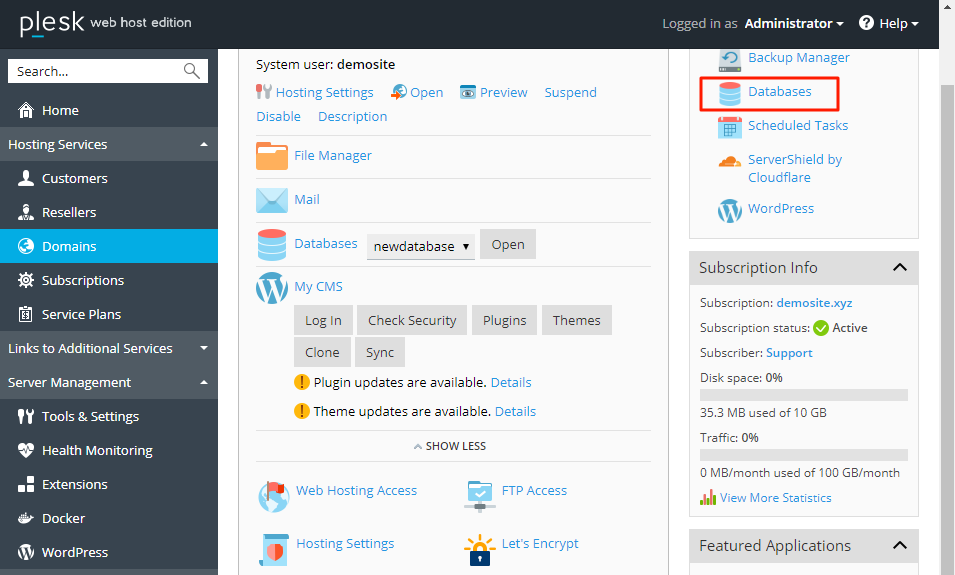
Backing Up a MySQL Database
- Log in to Plesk Control Panel: Open your web browser and log in to your Plesk Control Panel with your username and password.
- Go to Databases: In the left-hand menu, click on “Databases” under the “Websites & Domains” section.
- Select the Database: You will see a list of databases associated with your account. Click on the database you want to back up.
- Export the Database:
- Click on the “Export Dump” button.
- Choose the options for the export. For most purposes, the default settings (which include exporting the entire database structure and data) are sufficient.
- Click “OK” to start the export process.
- Download the Backup File: After the export process is complete, you will be prompted to download the backup file (usually in .sql format). Save this file to a secure location on your computer or external storage.
Restoring a MySQL Database
- Log in to Plesk Control Panel: Again, start by logging in to your Plesk Control Panel.
- Go to Databases: Navigate to the “Databases” section under “Websites & Domains” in the left-hand menu.
- Create a New Database (if needed): If you are restoring the database to a new or different database, you will need to create a new database.
- Click on “Add Database.”
- Fill in the details for the new database and click “OK.”
- Select the Database: Click on the database to which you want to restore the data.
- Import the Backup File:
- Click on the “Import Dump” button.
- Choose the backup file (the .sql file) that you previously downloaded.
- Select the “From a file” option and click “Browse” to locate the file on your computer.
- Choose the appropriate options for the import process. For example, you may want to check the “Create a new database” box if you are importing into a new database.
- Click “OK” to start the import process.
- Verify the Restoration: After the import process is complete, verify that the data has been restored correctly by checking the database tables and data.
Additional Tips
- Regular Backups: Schedule regular backups to avoid data loss.
- Secure Storage: Store your backups in a secure and reliable location.
- Database Size: Large databases may require more time to back up and restore. Ensure you have enough storage space and bandwidth.
- Check Permissions: Ensure you have the necessary permissions to back up and restore databases in Plesk.
By following these steps, you should be able to effectively back up and restore your MySQL databases using the Plesk Control Panel.